I recently got on the hype train and bought myself one of those fancy mechanical keyboards with lights and everything so I can be one of the cool kids. I originally intended to replace an old Cherry membrane keyboard with it, that I’m using on my desktop PC but felt like that would be somewhat of a waste as I don’t use that PC regularly. I usually alternate between the desktop and my Thinkpad in the docking station. Spending 100 bucks on a new keyboard that only gets used about 50 % of the time seemed wrong.
Nothing fancy
I thought about buying a second cable, one for each PC but that would become quite annoying after a few times. A more comfortable solution was necessary. KVM switches aren’t very expensive nowadays but they also have lots of stuff I don’t need and if I get a chance to build something myself, I like to take it.
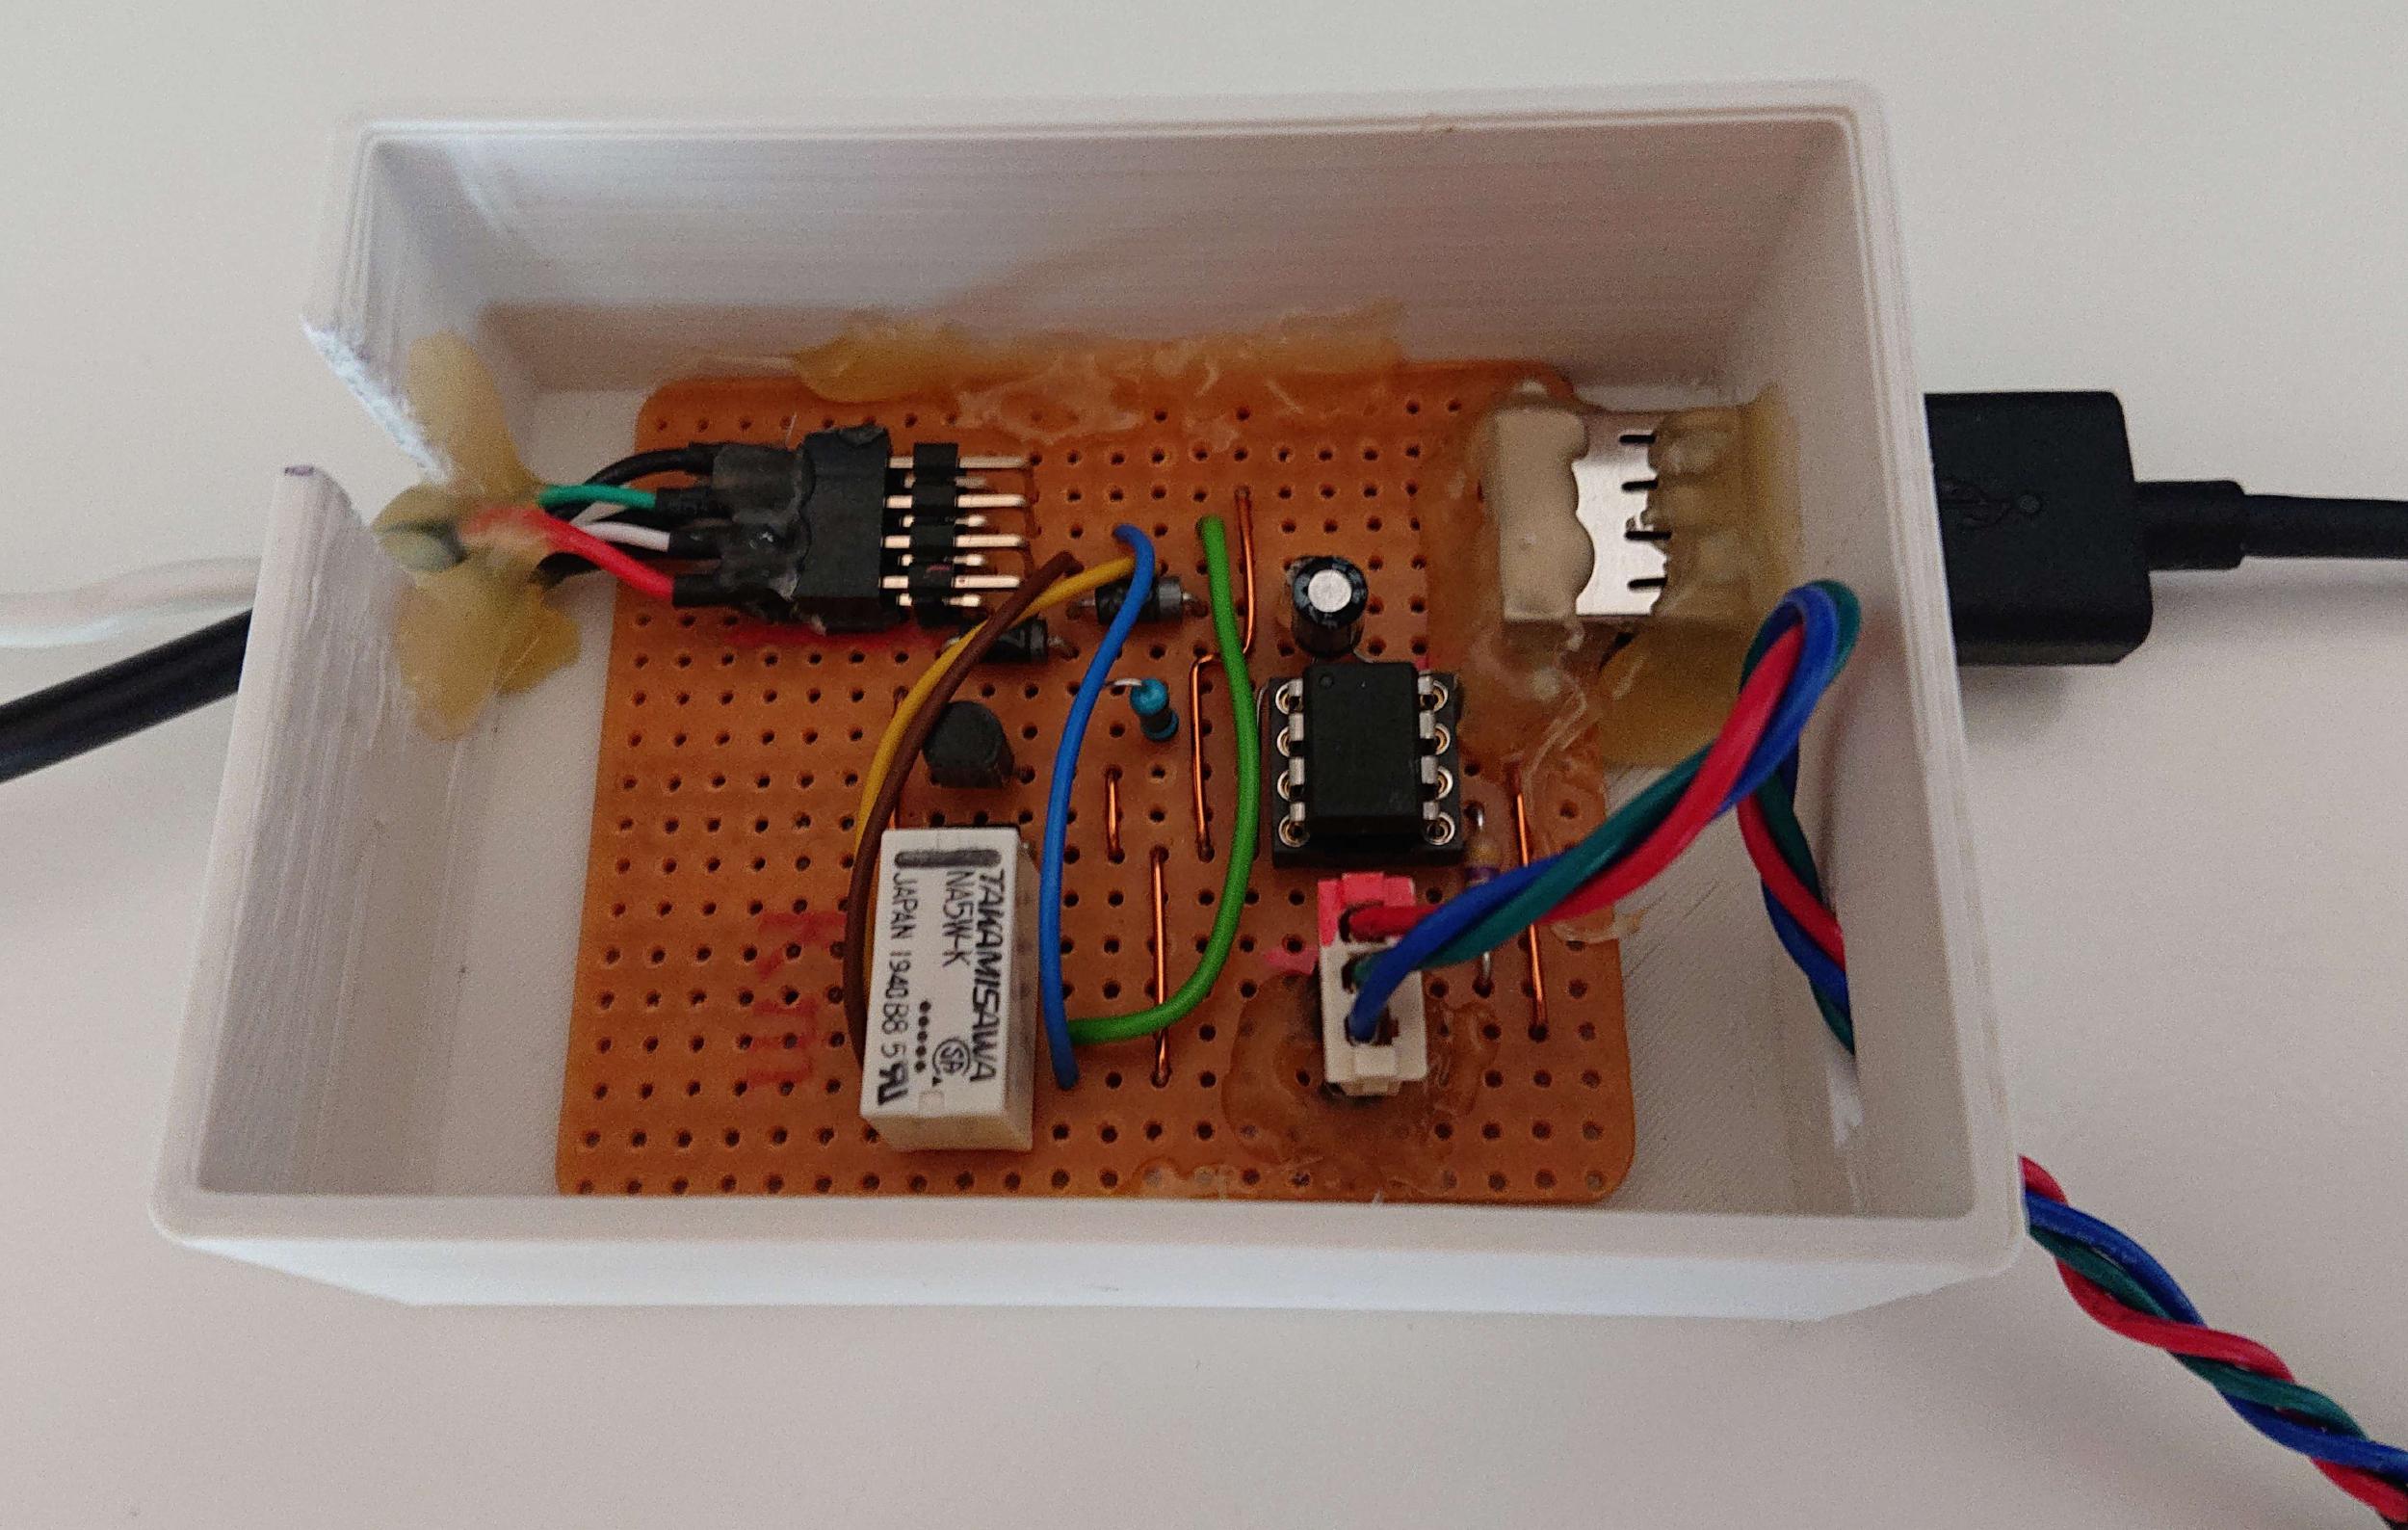
In a nutshell, the whole thing is just a relay switching between two USB inputs, a transistor and a lit pushbutton to operate it all. To top off the overkill, I used a left over ATtiny to debounce the switch and for the toggle logic. I can’t stress enough how unnecessary a microcontroller is for only doing that, but then again they only cost around 70 cents and it’s a little easier that way.

I should note that using a relay here isn’t at all necessary. The easiest and also quickest solution would be to just use a double pole double throw (DPDT) switch and connect the USB D+ (green) and D- (white) lines directly to it. However, I wanted to use one of those transparent push buttons with an in-built LED I still had left from a thing I built way back.
Side notes
In this case, the relay essentially doubles as the DPDT switch, the transistor is necessary to supply the relay with the switching current. Looking at the data sheet now, I realise that transistor wouldn’t be strictly necessary as the relay operates below the ATtiny’s 40 mA output threshold. Still, it doesn’t hurt and this way, I’m on the safe side.
Before using the double pole relay shown above, I tried to get away with a single pole relay, because that was the only kind I had on hand. Only switching the D- (white) line seemed to work fine on my laptop but for some reason wouldn’t function properly on the desktop. Because all the small electronic parts shops in my immediate vicinity have either closed shop or burned down recently, I took a three hour bike ride to the nearest supplier to pick up some double pole relays.
With this “design”, once power to the circuit is lost, the relay will reset itself. You could avoid this by going way overboard and adding some form of memory or by simply using a latching relay instead. The latter option also has the benefit of the relay not using any power while in the “on” position. Although, the power consumption is negligible with around 140 mW.
Assembly
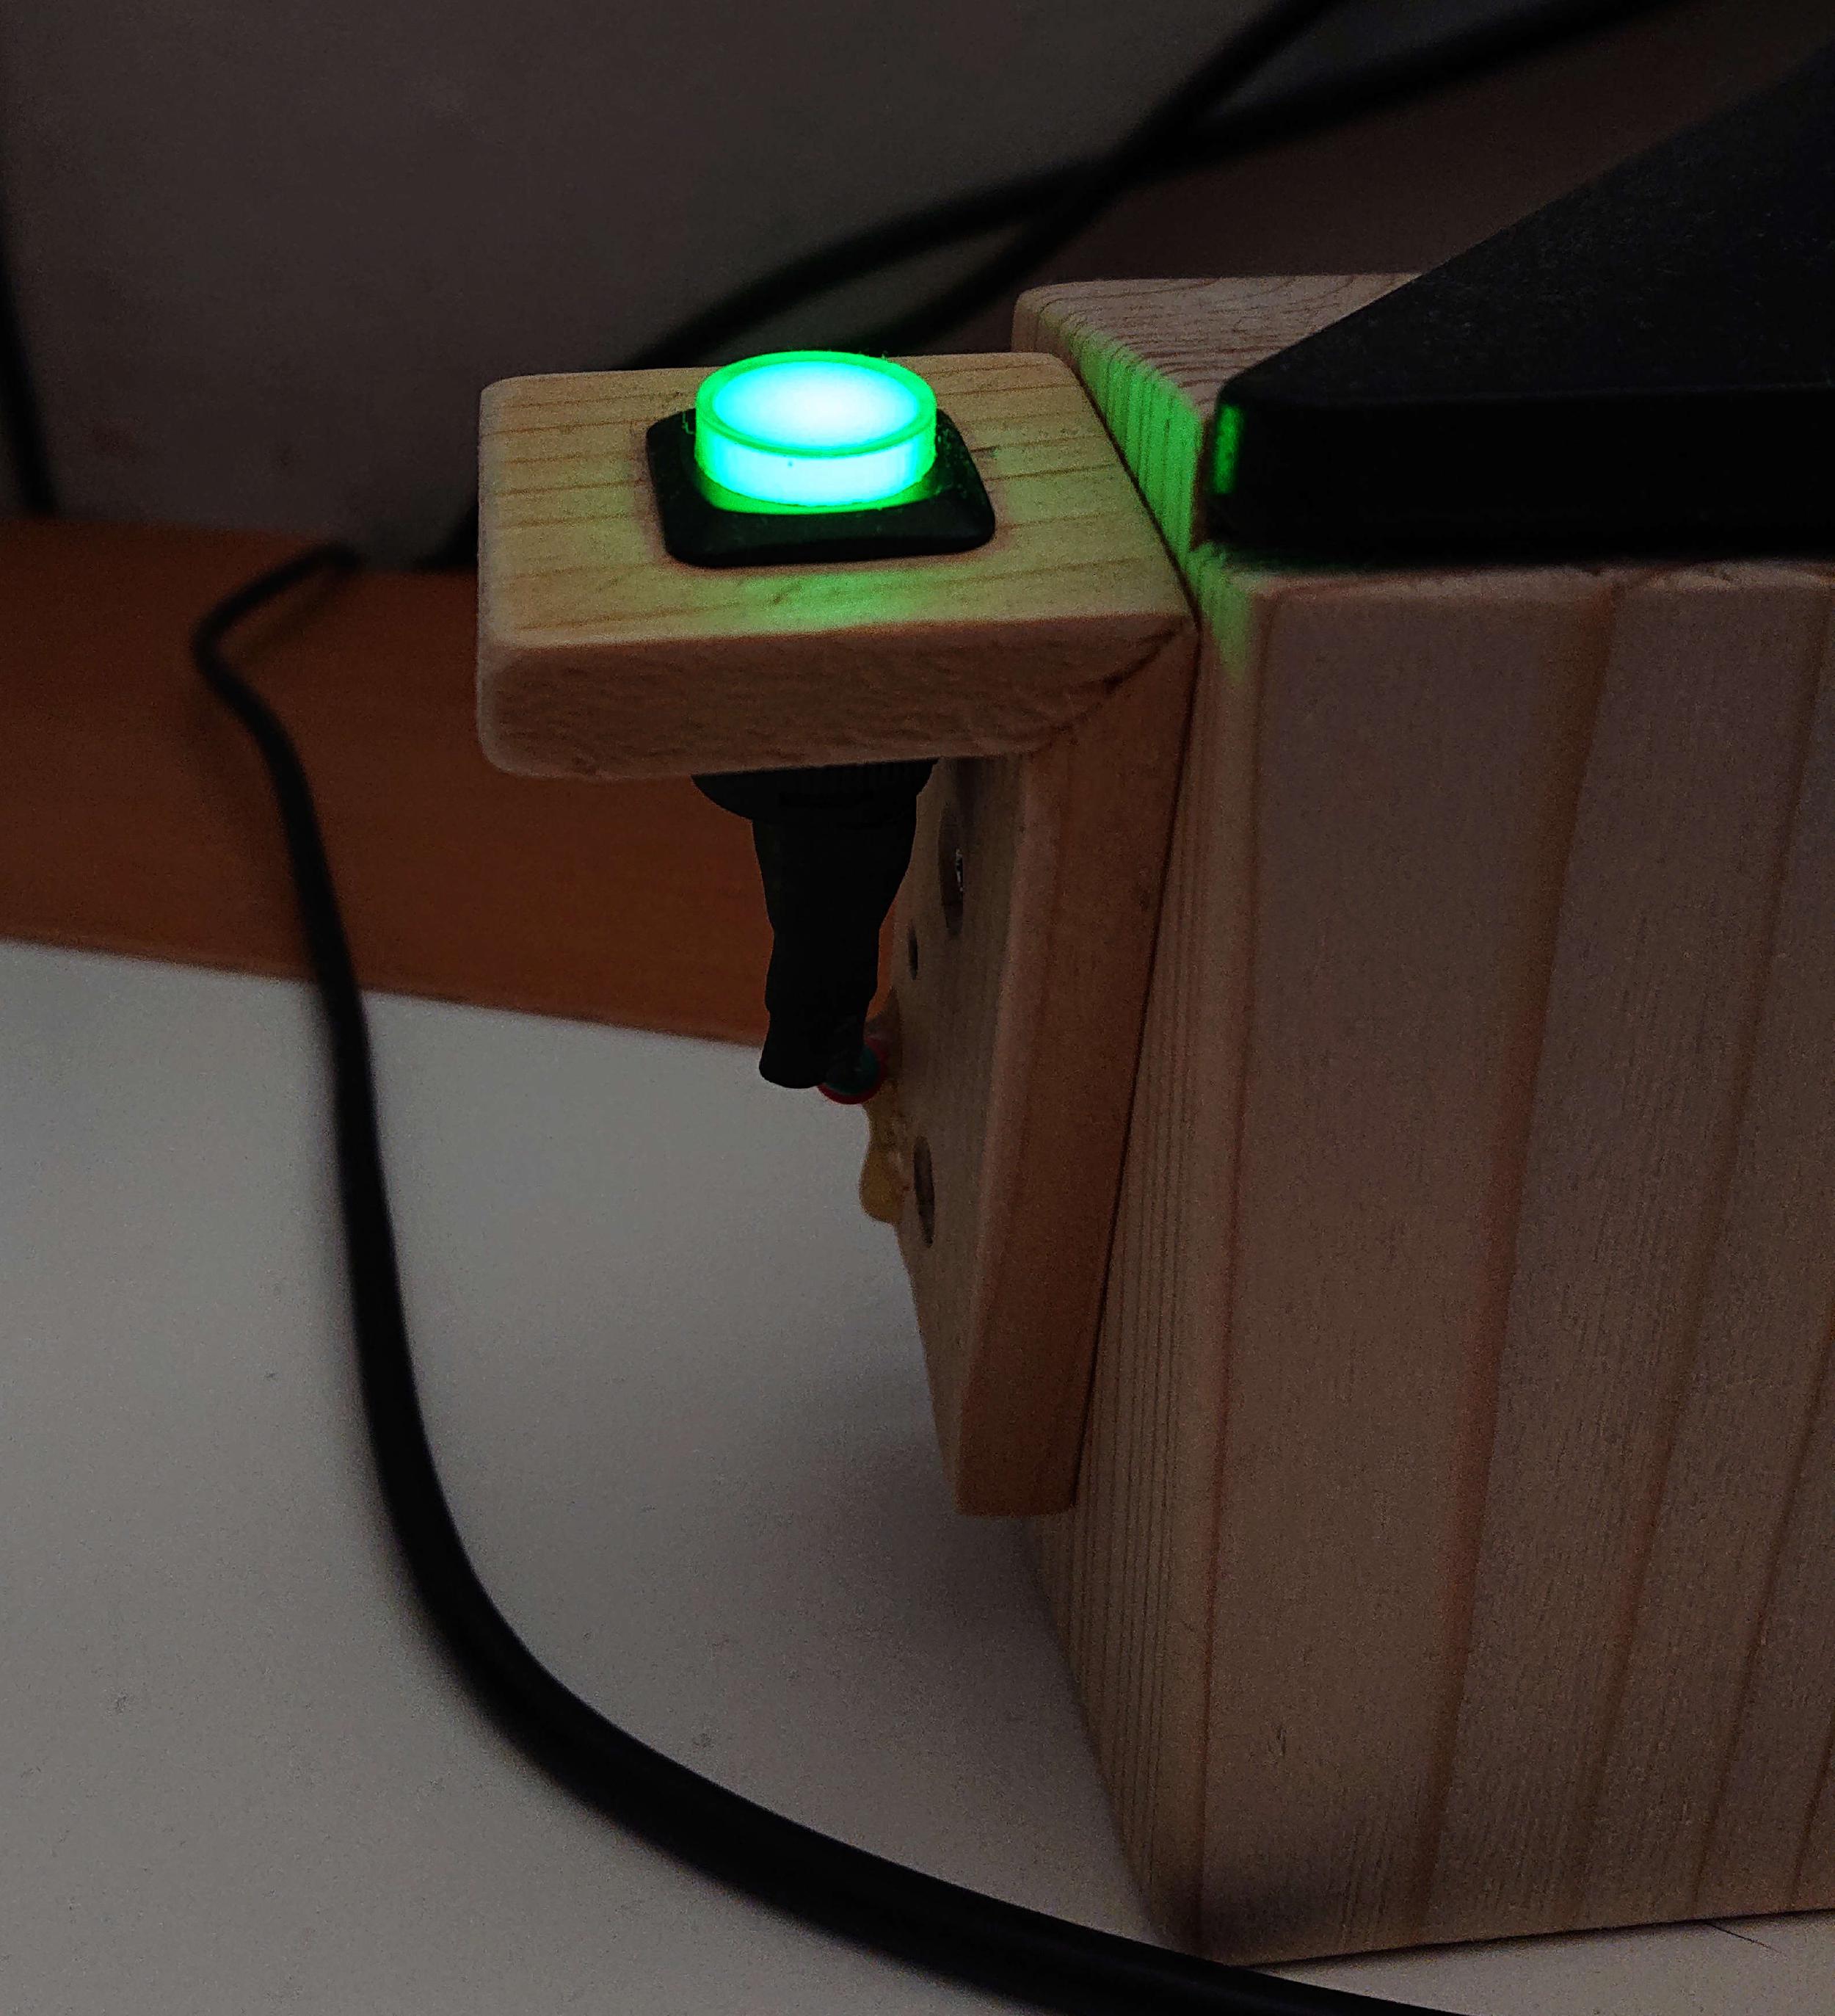
As always, I chose to use a bit of perfboard (somewhat neatly laid out, though!) and some hot glue. I put everything into a left over 3D printed enclosure, added some headers for good practice and made sure to relieve the wires from strain. A very simple wooden bracket screwed to my fantastic monitor stand and I could finally use my keyboard on both PCs with the push of a button. It lights up when connected to the laptop and doesn’t, when connected to the desktop. I had to adjust the in series resistor a few times because the switch LED is astonishingly bright, especially at night.

The case is mounted to the underside of my desktop so all the cables are tucked away and everything is looking neat and tidy.

You can find the schematic and code for this project in the corresponding git repository. To use the ATtiny MCU series from within the Arduino IDE, you’ll need David A. Mellis’ attiny cores.